
Blog
Step-by-Step: Changing Claas Jaguar V-MAX Knives
Introduction
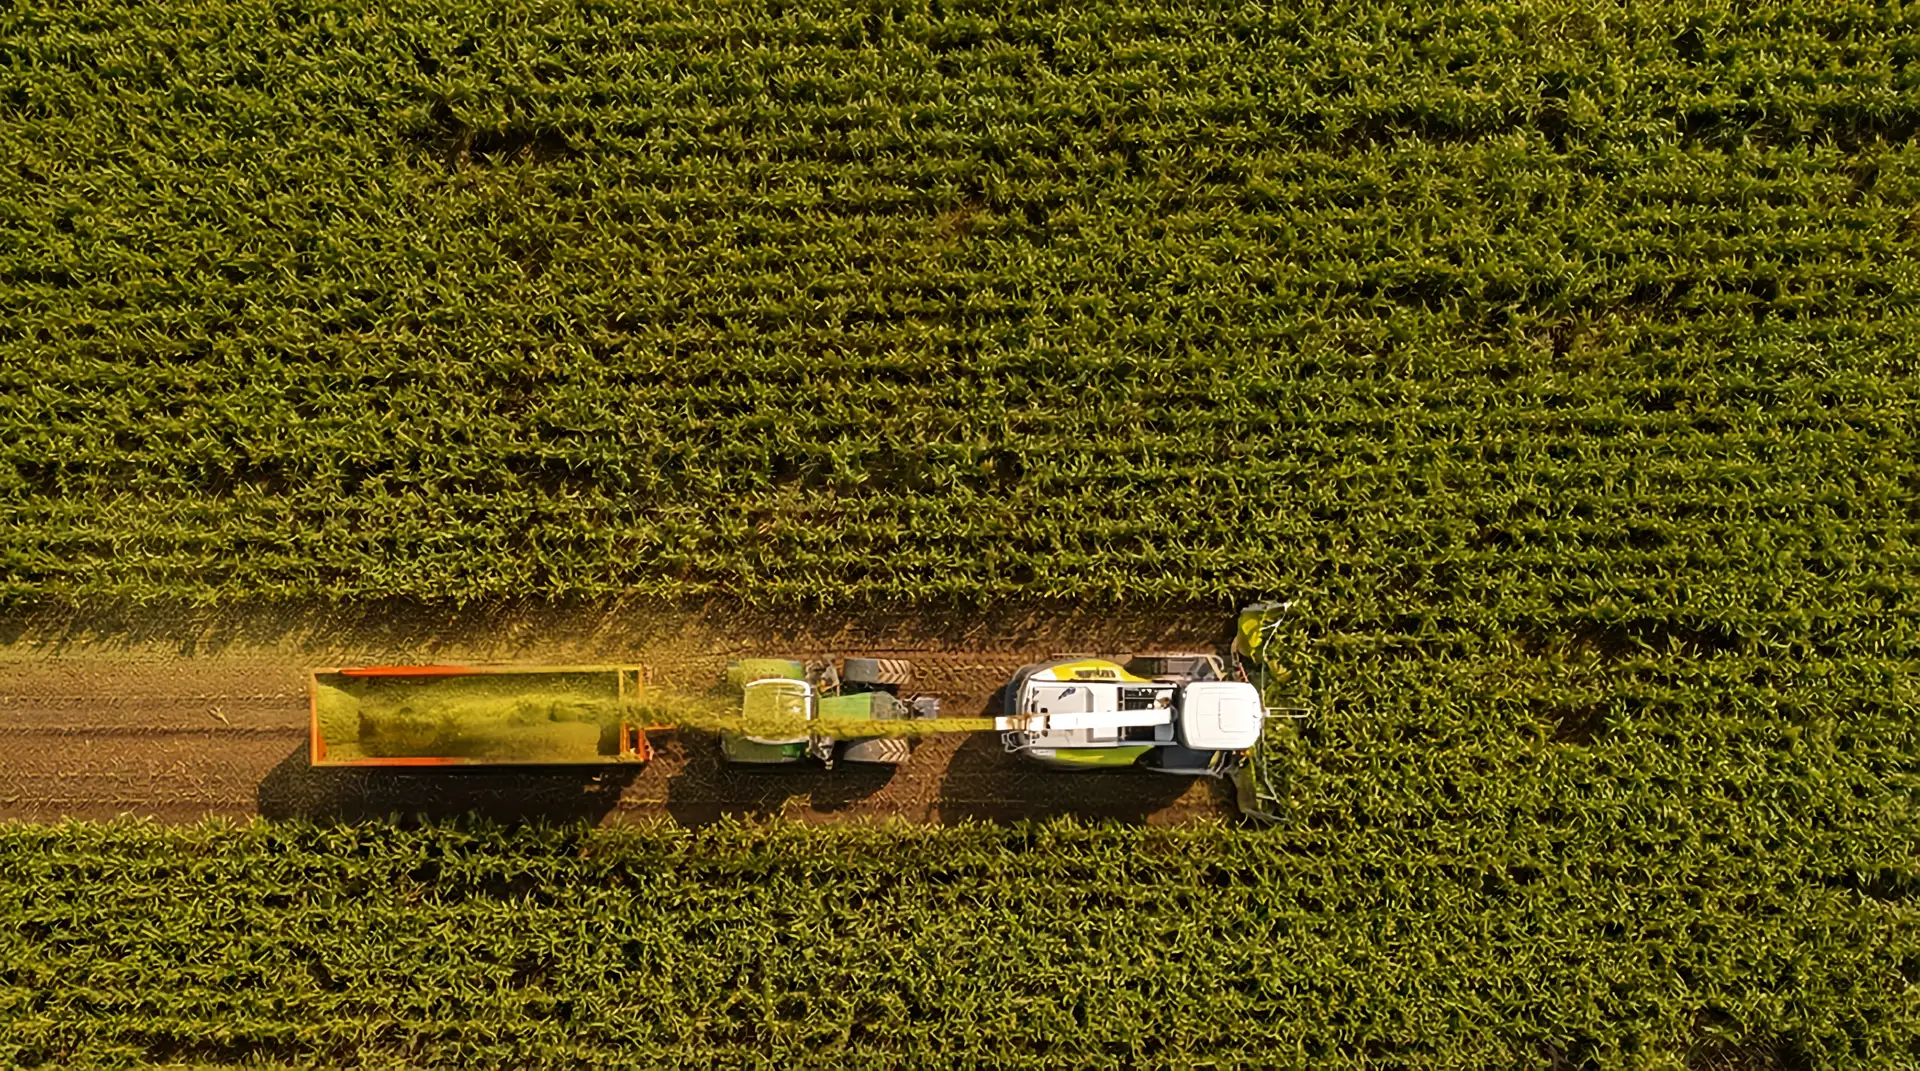
The V-MAX chopping drum is the heart of your Claas Jaguar. Its unique V-shaped knife arrangement allows for smooth running and high throughput. But like any blade, it eventually loses its edge.
Running with worn or damaged knives is a costly mistake. It increases fuel consumption by up to 15% and puts unnecessary strain on the drivetrain.
In this guide, the Agmishop Technical Team walks you through the correct procedure for replacing knives on a Claas Jaguar V-MAX drum, including critical torque settings and safety tips.
When Should You Replace the Knives?
Don’t wait until the knife snaps. Look for these signs:
- Wear Line Reached: Most V-MAX knives have a wear indicator line. If the edge has receded to this line, the knife is structurally compromised.
- Stone Damage: Deep chips or cracks can lead to catastrophic failure at 1,200 RPM.
- Impossible to Sharpen: If the sharpening stone can no longer touch the heel of the knife, it’s time for a new set.
Tools & Parts You Will Need
Before you unlock the drum housing, ensure you have:
- Impact Wrench (for removal).
- Torque Wrench (Critical for installation).
- Wire Brush / Scraper (for cleaning).
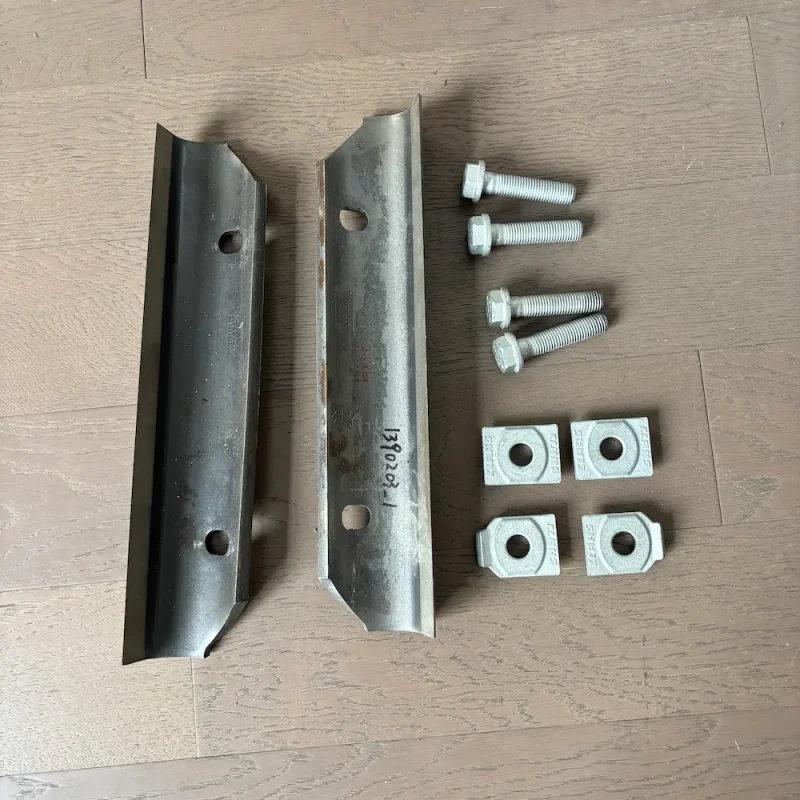
- New Knife Set: Always replace in full sets to maintain balance.
- New Mounting Bolts: Never reuse old bolts. They stretch under torque and can shear off.

The Replacement Procedure (Step-by-Step)
⚠️ SAFETY WARNING: Always engage the mechanical cylinder lock (safety bar) before putting your hands near the drum. Disconnect the battery if necessary.
Step 1: Removal
Rotate the drum manually to access the first row of knives. Remove the bolts.
- Tip: Inspect the knife carrier (bracket) for wear. If the carrier is worn, the new knife won’t sit flat.
Step 2: Cleaning (The Most Important Step)
This is where most mistakes happen. You must clean the mounting surface on the drum carrier perfectly.
- Use a scraper to remove all sap, rust, and dirt.
- Why? Even a small piece of dirt can prevent the knife from clamping tight, leading to bolt failure and vibration.
Step 3: Installation & Alignment
Place the new knife and the backing plate (clamping bar) onto the carrier.
- Hand-tighten the new bolts first.
- Pull the knife outward firmly to ensure it is seated against the stops (if equipped) or aligned according to the jig.
Step 4: Torquing the Bolts
Do not use an impact gun for final tightening. You must use a calibrated torque wrench.
- Torque Spec: Check your specific Jaguar manual (typically around 300 Nm for many V-MAX models, but confirm based on bolt grade 10.9 or 12.9).
- Sequence: Tighten from the center bolt outwards.
Post-Installation: Resetting the System
Once the new iron is installed, you need to tell the machine.
- Reset Knife Count: Go into CEBIS and reset the knife wear counter. This resets the sharpening stone position.
- Adjust Shear Bar: The new knives are larger than the old ones. You must retract the shear bar before starting the engine to avoid a collision.
- Sharpening Cycle: Run a full sharpening cycle to true up the new edge.
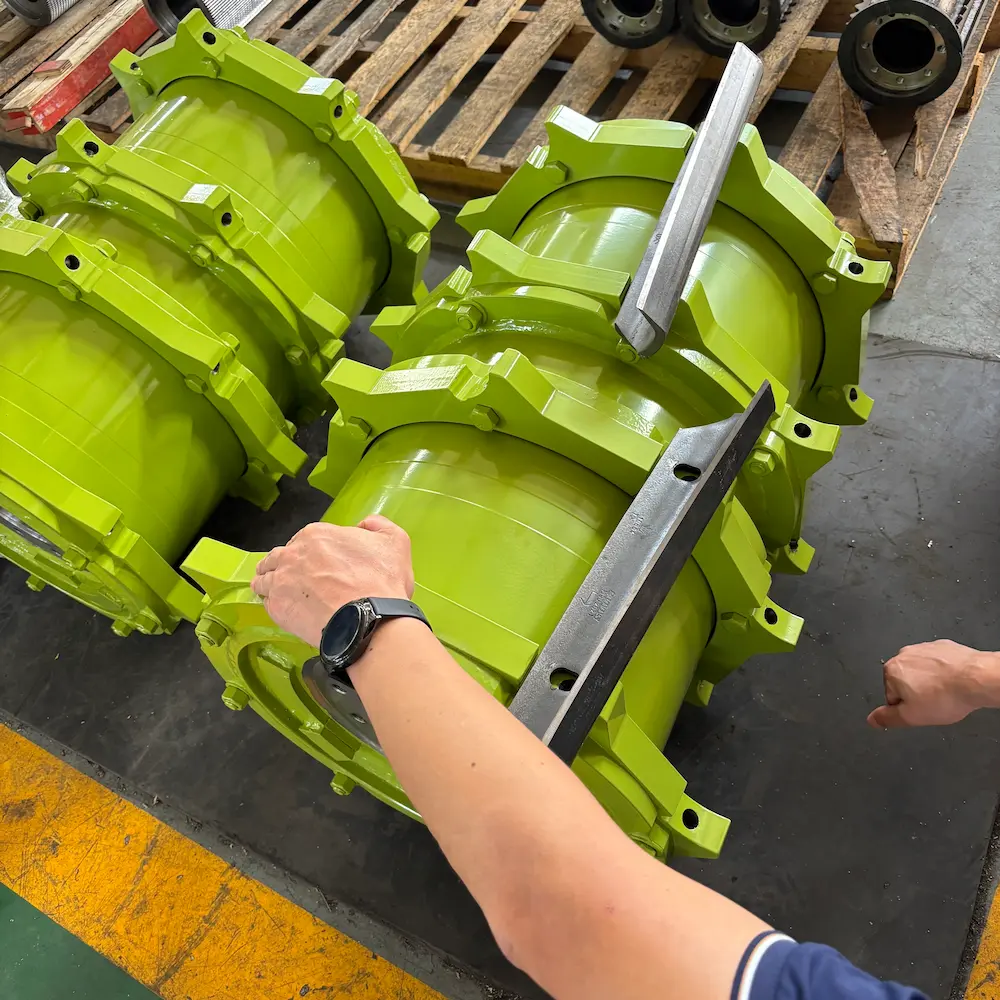
Why Choose Agmishop V-MAX Knives?
Many farmers worry that aftermarket knives will cause vibration. At Agmishop, we solve this with science.
Weight-Matched Sets
We weigh every single knife coming off our production line. We pack them in sets where the weight variance is less than 3 grams.
- Result: A perfectly balanced drum that runs as smoothly as the day it left the factory.
Tungsten Carbide Options
Harvesting in sandy soil? Upgrade to our Carbide-Coated V-MAX Knives.
- Benefit: Lasts 3-5 times longer than standard steel, reducing downtime during peak harvest.
Conclusion
Changing knives is maintenance, not a repair. Doing it correctly—with clean surfaces and proper torque—ensures your harvest keeps moving.
Need a new set of V-MAX knives or mounting bolts? Order direct from the factory at Agmishop and save on your operating costs.